
To add an image, you can either copy and paste the image from another program or upload the image to the image library and the choose the image.
You can select an image within a document such as Word by using the Snipping Tool (Windows PC) This is useful if you have added shapes to emphasize a portion of the image (as I have done in this tutorial), or if you want to copy an image from a PDF document. Any Screen select tool on a PC or MAC will copy any part of the document as an image.
1. Add an Image:
A. Copy and Paste
If you have copied the image from within another program, such as Word or PowerPoint, or used an screen copying tool such as the Sniffing Tool 0n a Windows PC or a Screen Copy, etc. you can now simply paste the image by clicking in the new Paragraph and pasting (Ctrl-V on a PC).
B. Image File (jpg, png, etc)
To add a saved image, click on the plus sign to the right of the paragraph.

A list of commonly used blocks will appear. If you see the block titled ‘Image’ in that list, click on it.
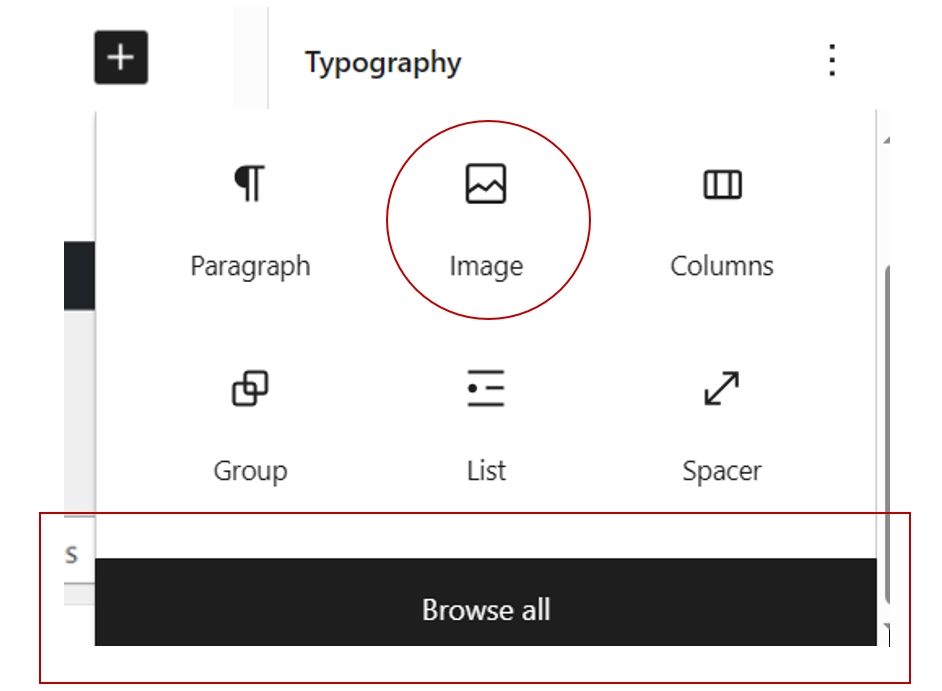
If you don’t see the image block or you want to choose a different image related block, click on Browse All at the bottom of the list. An expanded list will appear down the left side of the page. Type ‘image’ in the search bar and all image related blocks will show.
Select the Image block.

The insert image box will appear.
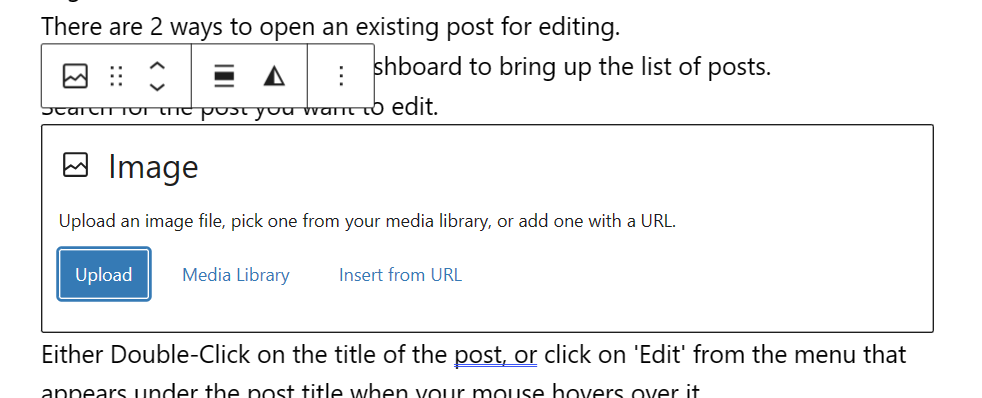
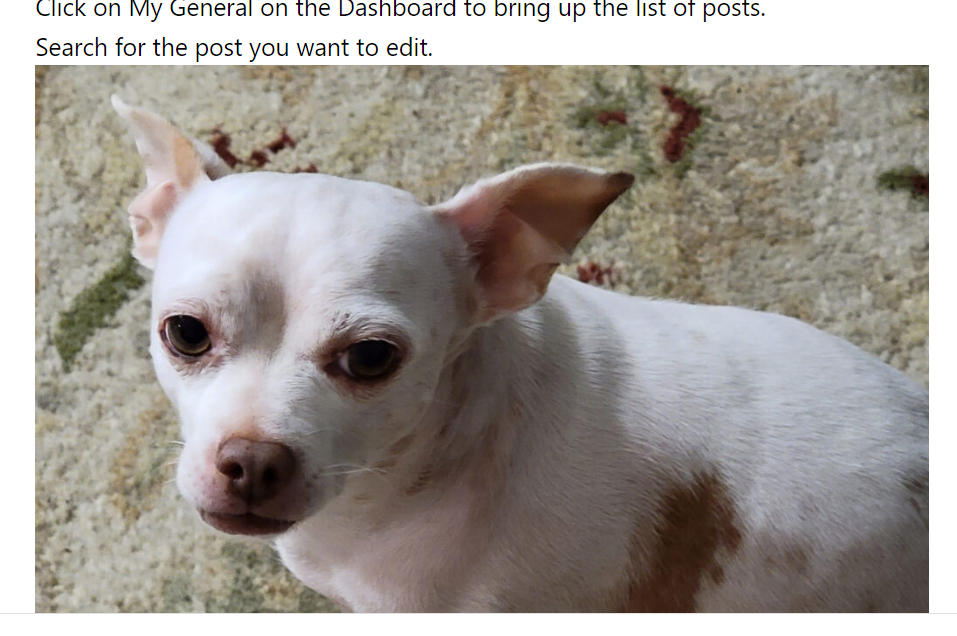
If the image file is stored on your computer, click on ‘Upload’, find the file and click Open. The image will be inserted. If the image file has already been uploaded, click on Media Library. Select the image from the library and press the Select button at the bottom right. The image will be inserted. The image of my dog, Ozzie, has been ‘Added After’ the selected paragraph.
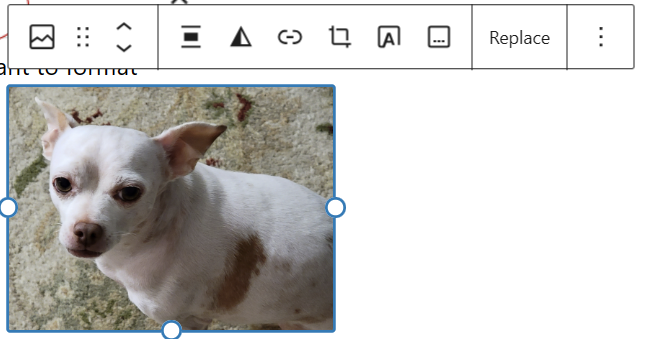
2. It is very easy to resize an image. Click on the image to select it. You will see selection circles on the bottom and right side of the image.
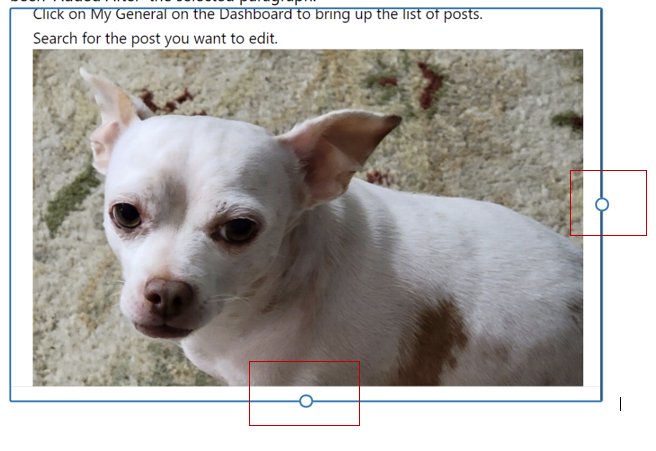
3. Press down on one of the circles and drag until the picture is the desired size.
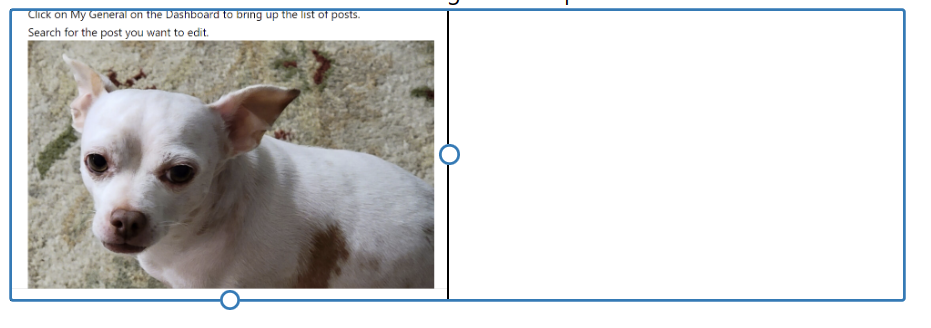
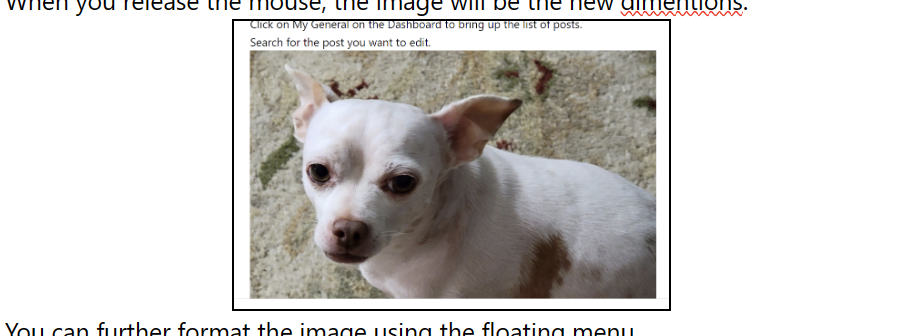
4. When you release the mouse, the image will be the new dimensions.
5. You can further format the image using the floating menu.
- You can align the image.
- To center the image, click the alignment icon on the toolbar and choose Align Center.
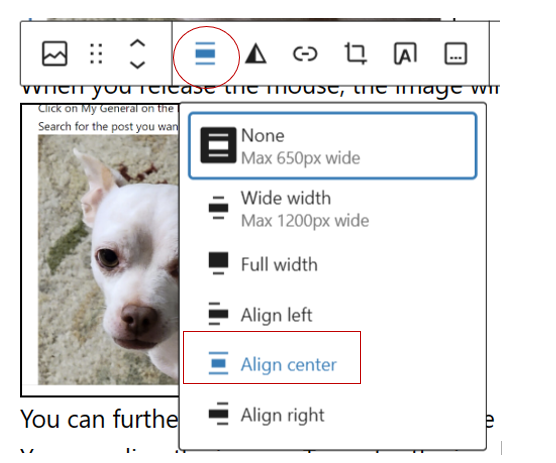
The image will be centered on the page.
- There is even an option to add Text over the image! Note: you will not be able to resize the image the same way as in this tutorial if you add text.


This is my dog Ozzie
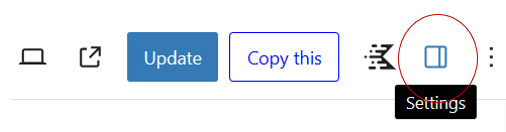
6. There are additional formatting options available by bring up the Settings toolbar.
7. To bring up the Settings Toolbar, click on the Settings icon at the top right of the screen
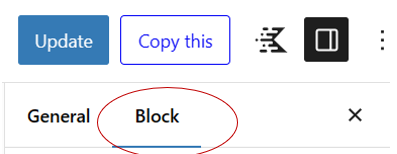
8. The Settings toolbar will change depending on the currently selected block. There are 2 different views, General and Block. Click on Block.
9. Click on the image you want to format
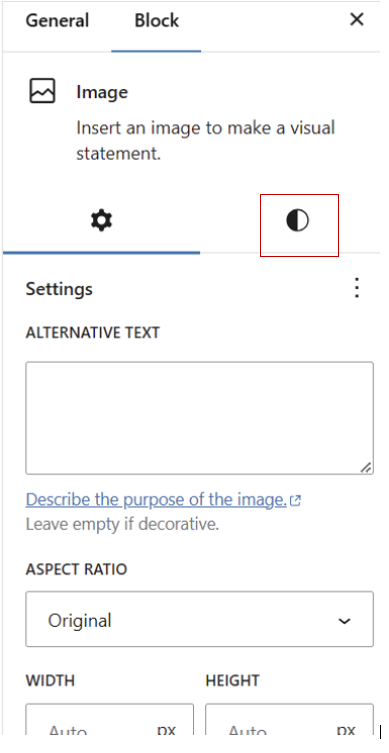
10. The Settings Block view will look like this. Click on the ‘Half Moon’ icon.
11. To add a border around the image, scroll down to the section for Border and Shadow, and type a number for the width of the border. The image will now have a border.
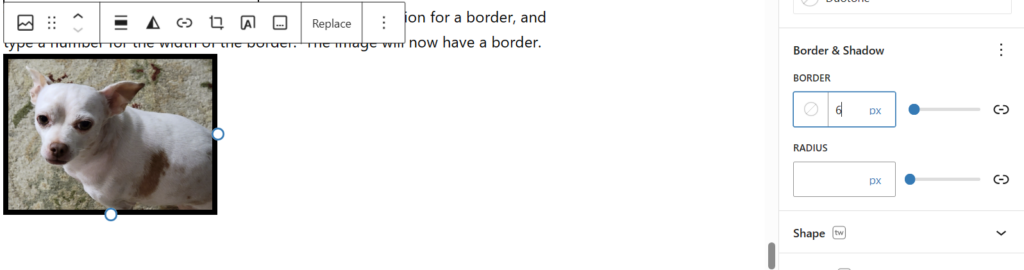
12. To change the color of the border, click in the circle to the left, and select a color.
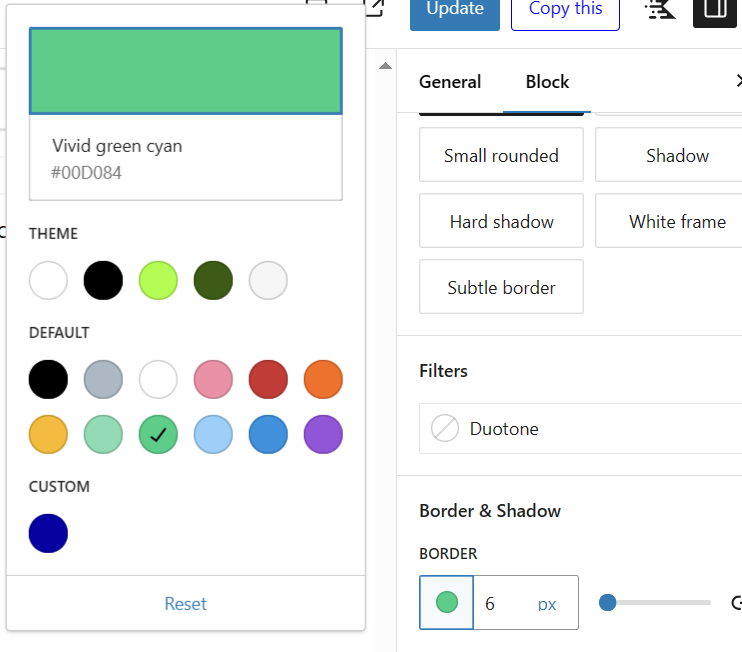
The finished image is resized, centered, and has a green border.